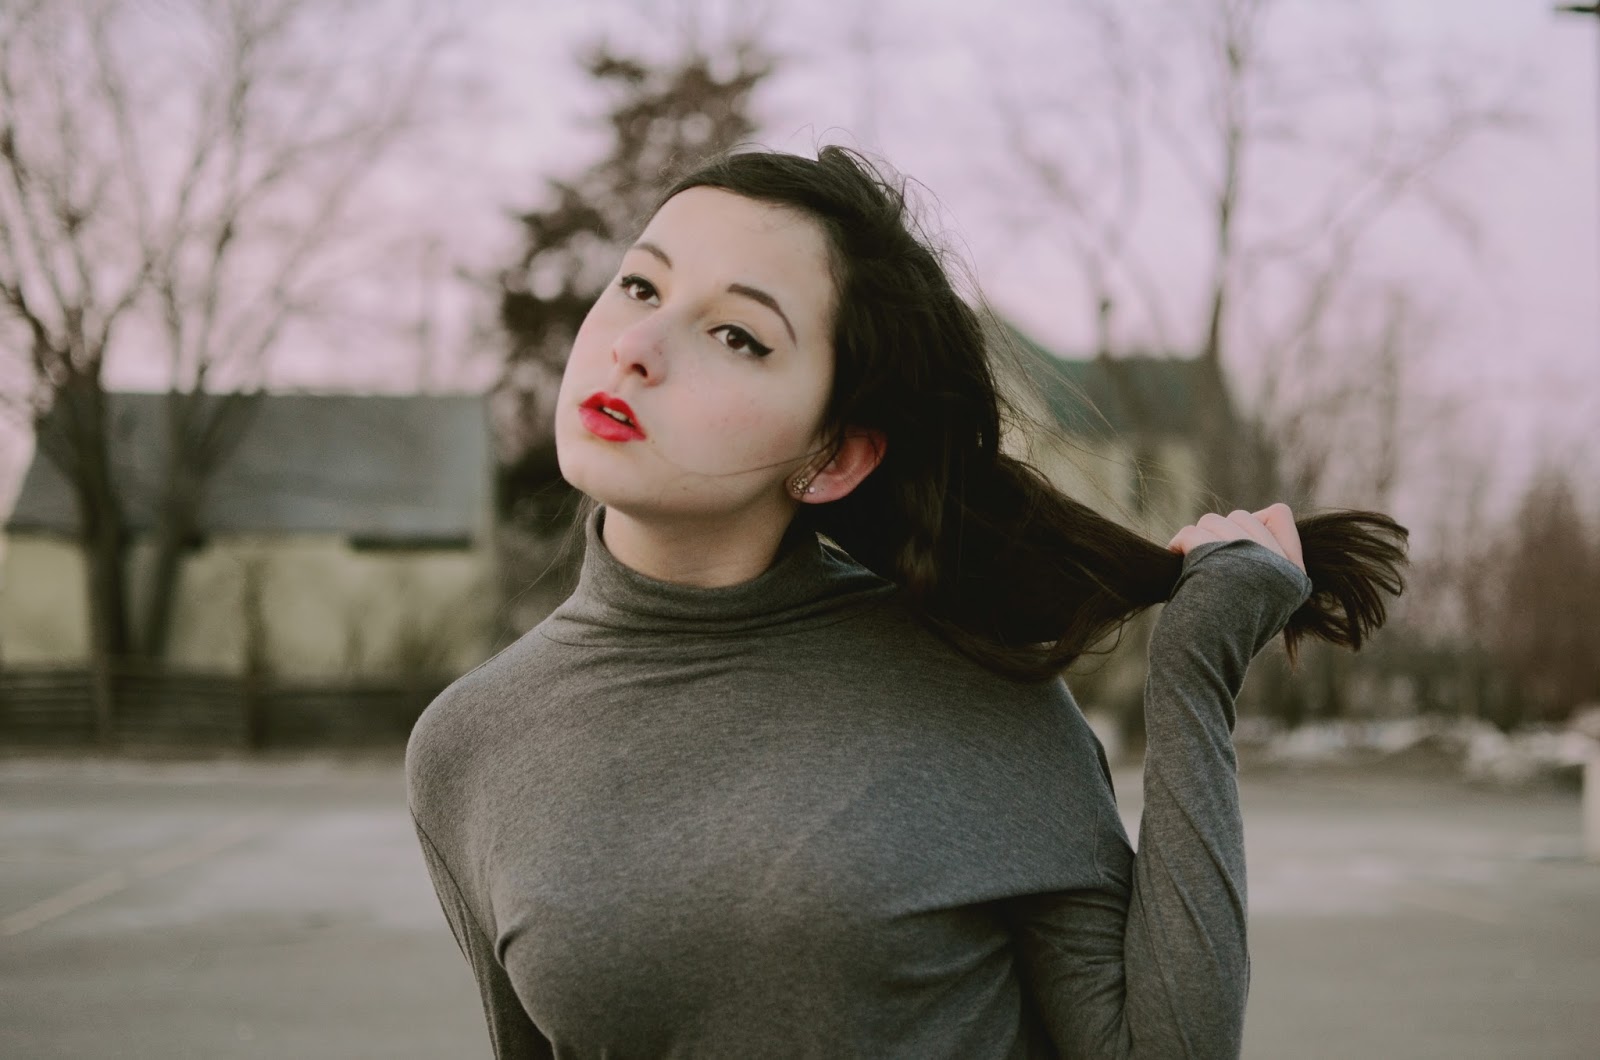
I got this dress over a month ago, and I haven't found the occasion to wear it yet. I felt like it looked a little plain on its own, but I think I like it that way. I decided to go out and do a small fashion shoot as a rainstorm ended today (and you can see my hair going from straightened to curly from the humidity as my the photos progress). I decided to pair it with the shoes I got on the same shopping trip, my $27 version of Swedish Hasbeens. (I really REALLY want Swedish Hasbeens).
Im Wunderschönen Monat Mai
Wow, am I a liar. I guess it really is difficult to stay on top of posting even if I do have photos.
The Montréal photos will appear in due course, but right now I felt like sharing some photos I took on the second day of the beautiful month of May. Finally, the weather is consistently warm and there are flowers and leaves!
39,000 feet
Sorry for the absence, it's been busy!
Boy am I excited to share my Montreal photos with you! This past week was spring break from school and my family took a trip to Montreal for a few days. Here are the photos from day 1, which was just a travel day. (We flew to Atlanta, connected to Boston, and then drove up to Quebec, which was long but made for some cool pictures!)
It was a wonderful time and there are plenty more photos to come!
Hello Again
I realize it's been quite a while since I've posted, but I figured I'd update any of you who are still here with some of my latest photography.
Winter is finally coming to an end, and I think I might be able to feel my motivation coming back along with the springtime. It's all easier said than done of course, but the warmer weather and longer days really do seem to be making a difference in how I feel!
I might have a post soon with some drawings I've done; I've filled up a couple pages of a sketchbook with pen doodles during my drivers' ed class. But for now, enjoy my end-of-winter photography: a small, chilly photoshoot in a parking lot, another self-portrait inspired by a Bastille song, and some Paczki day treats. (I still love food photography so so much).
Land Locked Blues
Two fashion posts in a row? In the same sweater? Whatever. The main goal here was photography more than fashion, and also a little therapy. I've got some crappy stuff on my mind, and taking pictures helps distract me.
I tried my best to make these look like they were taken with a film camera. I'm looking into getting one, since all of my favorite photographers shoot almost exclusively film and I love the look of it, but I also don't know how to use one and I'm not sure if I have the money. So for now, I've got my d7000 and GIMP.
I Didn't Come Here to Make Friends
Any friend-making, however wonderful, will be purely incidental. I'm here to do my best.
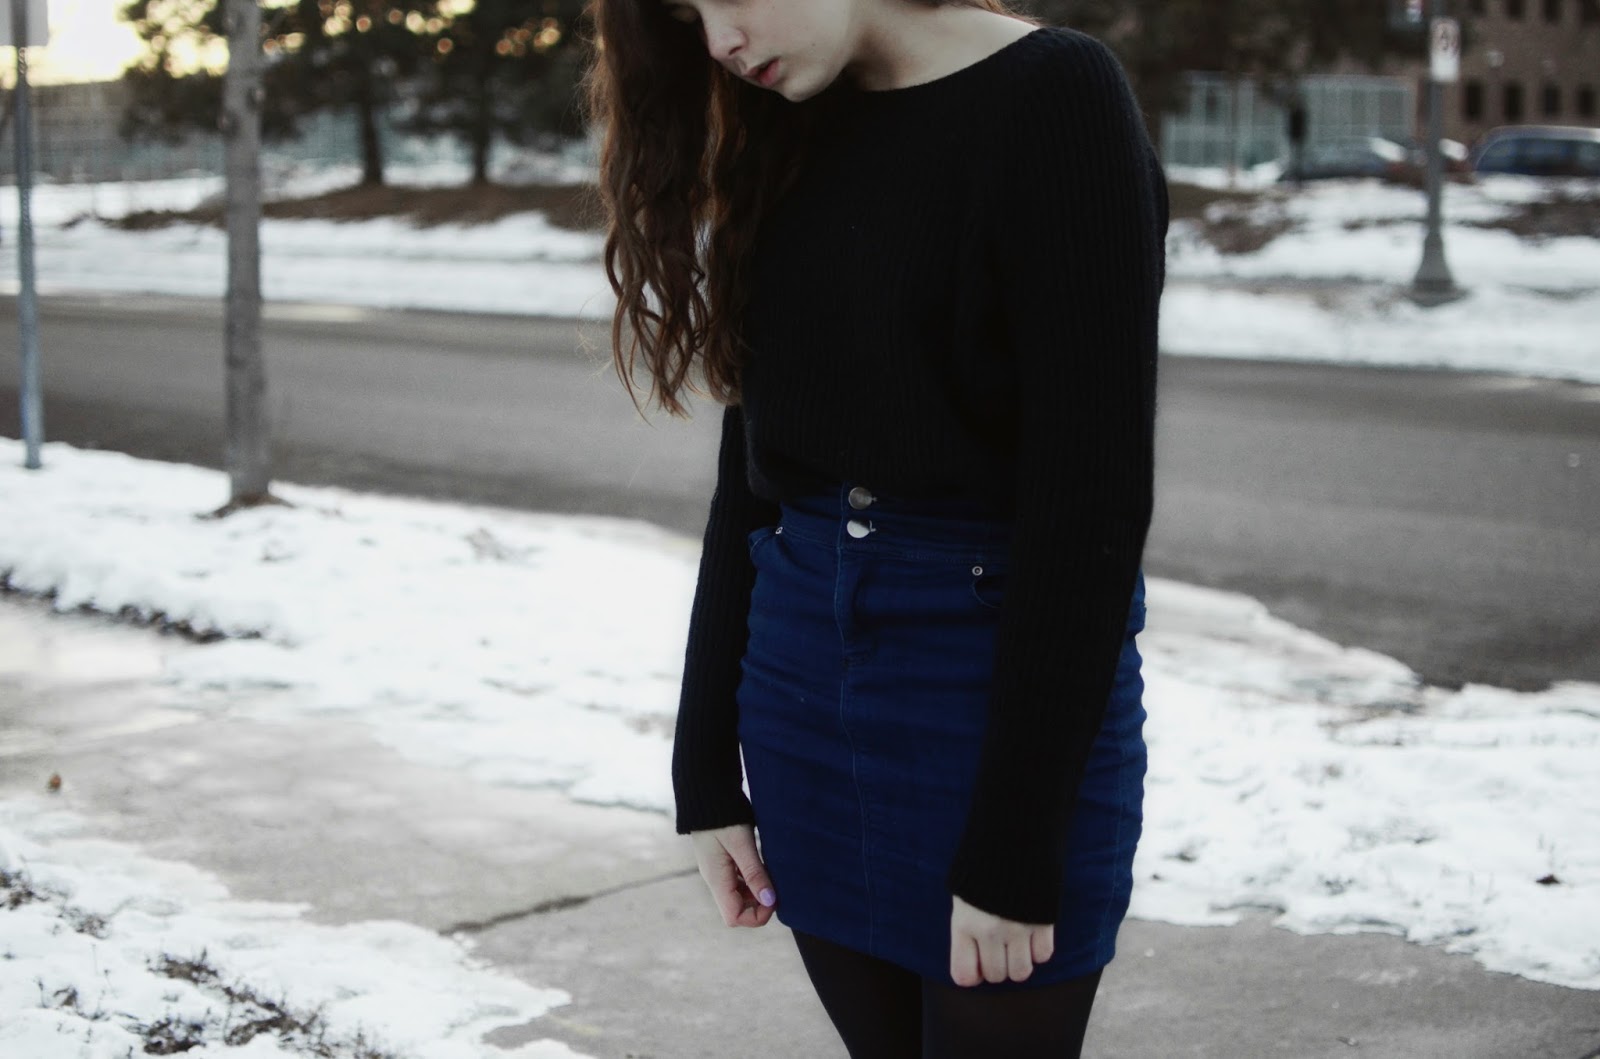
Monday marks the beginning of a new semester at school, and to go with it, a fierce-ass attitude to take on any social politics that seem to be coming with the changes in my class schedule. (I won't go into detail). And to go with that, I'll need a fierce-ass outfit. Seriously. I'm here to slay.
Fortunately, I got a black sweater this weekend to polish off the minimal look I've been going for lately. It feels so nice to be dressing in exactly the style you want to. Plus, I managed to get some good outfit photos for the first time in months. So here you go, an outfit post!
- Sweater: The Gap
- Skirt: Forever21
- Tights: Old Navy
- Shoes: Old Navy
Sunday
Last Sunday, I biked over to Groundswell for a latte and a muffin to dive into my math homework. (I brought my camera though, because I can't pass up an opportunity to photograph pretty food in pretty lighting). But when I arrived I ran into my friend Glory who was just ending her shift and we ended up talking and she kindly let me take pictures of her and her adorable outfit! It made for a much nicer afternoon than I had anticipated!
What's on Your Mind? Speech Bubble Tutorial
Since people on Instagram have asked me how I make my speech bubbles, I thought what better to do than make a tutorial! Today I will be showing you how my drawings and doodles get from paper to finished product, using this Feminist bubble as the example. (If you haven't been introduced to feminism yet, it's wonderful, I highly recommend it) This is the method I use for my bubbles as well as my other drawings.
You Will Need:
+ blank paper
+ pencil
+ pen
+ picture-taking device or scanner
+ GIMP (download it here!)
First, think of something to write or draw. It can be anything! Then, of course, draw it. (In pencil first). I've developed a habit of making an italic bubble font, but don't feel like you have to copy me! Look at other fonts and experiment with other styles of lettering.
It usually takes a few tries for me to get the letters and the bubbles just the right shape.
Once you've got your drawing just the way you want it, go over it in pen. I love my micron pens but anything will do, as long as the ink is dark and consistent. Then erase any leftover pencil lines.
Then, take a picture of it! (you could also scan your drawing but I don't have a scanner and I get by just fine). You can use a fancy camera or just an iPhone, just make sure the lighting is okay because grainy photos make the in-computer part difficult.
Transfer your photo to your computer, and open it in GIMP. Desaturate it to get rid of any bad white balance situations.
Go to colors>curves and in the value channel, drag the curve so that it's pretty much a vertical line. Use your judgement to decide where that line is so that the lines you drew show up the right thickness.
Next, use the paint bucket tool to color things in.
Continue doing this. (It was a bit more complicated with this multi-bubble drawing but it should be pretty simple if none of your lines overlap). Just drop "paint" on all the lines and empty spaces.
Keep experimenting with colors. It always takes me lots of tries to figure out what colors I want my art to be. Usually I look to my art and design board on Pinterest for color combo inspiration.
Now I'll show you how to add the glitter overlay I often enjoy adding. (You can do this with any pattern or texture).
First, find a suitable texture for free online. (I just googled "free gold glitter texture").
Next, go to the select by color tool and click on the region you want to cover. (As you can see, the text is selected here).
+ Go to layer> transparency> add alpha channel
+ Go to select> invert (or command + i)
+ Go to edit> cut (or command + x) to remove the pieces you don't want.
In this case, I used the eraser tool to take the glitter out of every other letter.
After messing with colors a bit more, I decided on a pale pink for the remaining letters instead of yellow. And there's my finished product! (sometimes I like to add a filter at the end too).
If you make any drawings with this method, be sure to link to them below or tag me in your Instagram posts, I'd love to see them!
Subscribe to:
Posts (Atom)